
IRON SIGHTS GUIDES
How to Zero Iron Sights
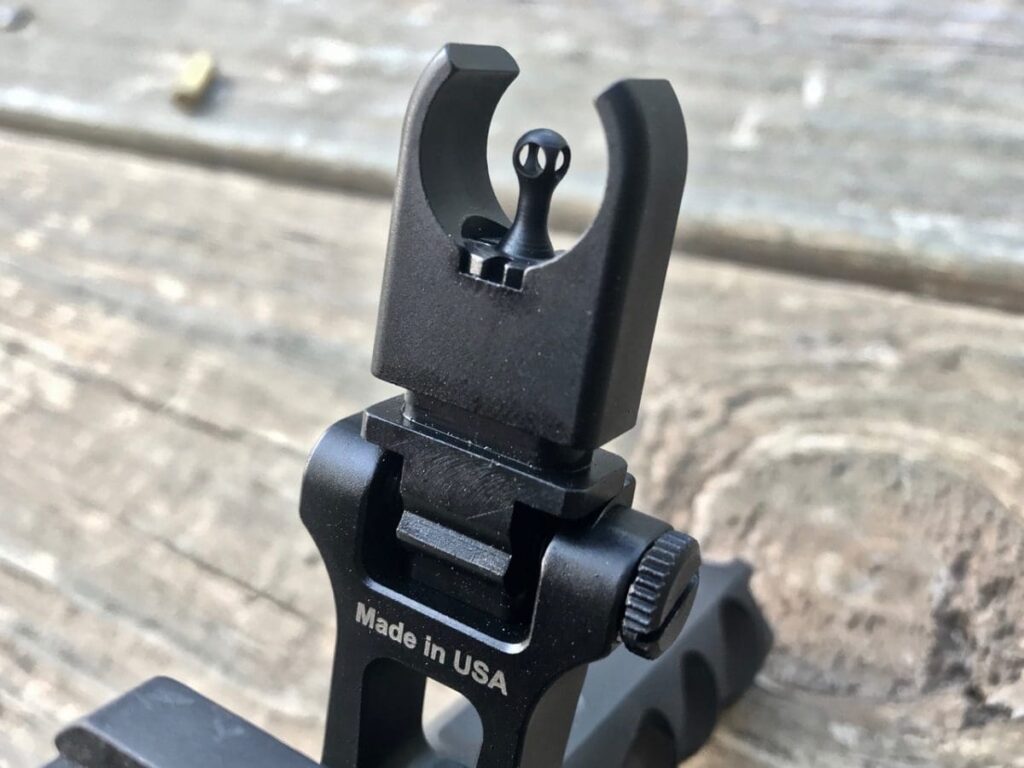
Zeroing your iron sights is the process of aligning your point of aim (where you are looking) with your point of impact (where the bullet actually hits). To achieve a professional-grade zero in 2026, follow this systematic approach.
1. Preparation & Setup
Before you fire a single shot, ensure your equipment is ready:
-
Check Mounts: Ensure your sights (especially if using Troy BattleSights) are torqued properly to the rail. If they are loose, you will never achieve a consistent zero.
-
Mechanical Zero: Center your rear windage. If your front sight post is adjustable for elevation, move it until it is flush with the base or at the manufacturer’s recommended starting point.
-
The Target: Use a dedicated zeroing target with a grid (usually 1-inch squares). This makes calculating your “clicks” much easier.
2. The Initial Group (The “Confirm”)
Set your target at your chosen distance (e.g., 36 or 50 yards).
-
Stabilize: Use a bench rest, sandbags, or a bipod. The goal is to remove “human error” and test the rifle’s alignment, not your ability to shoot off-hand.
-
Fire 3 to 5 Shots: Maintain the exact same point of aim for every shot. Do not “chase the hole.”
-
Find the Center: Look at the geometric center of your group. This is the point you will be adjusting from.
3. Calculating Adjustments
Most tactical iron sights use 0.5 MOA (Minute of Angle) or 1 MOA adjustments.
The Rule of Thumb: > * At 100 yards, 1 MOA is roughly 1 inch.
-
At 50 yards, 1 MOA is roughly 0.5 inches.
-
At 25 yards, 1 MOA is roughly 0.25 inches.
If your group is 2 inches low and 2 inches right at 50 yards, and your sights have 0.5 MOA clicks:
-
Elevation: You need to move the strike 2 inches up (8 clicks).
-
Windage: You need to move the strike 2 inches left (8 clicks).
4. Making the Adjustments
Rear Sight (Windage)
-
FORDS Rule: To move the point of impact Right, move the rear sight Right. To move it Left, move the rear sight Left.
-
On Troy or Magpul sights, the dial will typically have an arrow indicating the direction of the “Right” adjustment.
Front Sight (Elevation)
-
OPPOSITE Rule: To move the point of impact UP, move the front sight post DOWN (screw it in). To move the point of impact DOWN, move the front sight post UP (unscrew it).
-
Note: Most rear sights are for windage only; elevation is almost always handled at the front post unless you are using specialized “Carry Handle” or Match-style sights.
5. The Verification Group
After making your adjustments, fire another 3 to 5-shot group.
-
If the center of the group is now over your point of aim, you are zeroed.
-
If not, repeat the calculation process.
6. Final “Duty” Check
Once you are zeroed at your chosen distance (e.g., 50 yards), move the target back to 100 or 200 yards (if the range allows) to see where the bullet impacts at distance.
Because iron sights like the Troy HK-style or M4-style towers can obscure smaller targets at long range, knowing your “hold-overs” (how much higher you need to aim at 300 yards) is the final step in mastering your iron sights.
Pro-Tip: Once your zero is set, use a paint pen or “witness mark” on the mounting screws and adjustment dials. This allows you to see at a glance if your sights have bumped out of alignment.
